
Being the mom of two girls, I get the pleasure of making all sorts of crafty things for them. Fortunately, they both like looking girly (even though they love playing in the mud and being dirty). My girls are a little challenged in the hair department. Meaning that they were both bald for a good part of their first year and they have a pretty high hairline until they turn 2. Luckily, there are crochet headbands in every color that I can dress up with fun clips. Here is a tutorial on how to make korker bow clips. I debated at first whether or not to post this tutorial since I do sell hair bows through my Carlia Creations business. However, there are several tutorials online on how to kork the ribbon, so if someone really wanted to make their own, the information is out there. I'm going to show you how to kork the ribbon and one way to make a bow. Use your creativity to design your own style.
What you need:
 grosgrain ribbon (I prefer 3/8")
1/4" wooden dowel cut into 12" sections
clothespins
spray starch
scissors
For the Bow:coordinating ribbon (any material)
rhinestones
alligator clip
yarn
glue gun
First, you will need to make the korked ribbon. Have your dowels cut into 12" sections. Starting at one end, clip the ribbon to the dowel. Be sure you buy grosgrain ribbon (it looks ribbed). Other ribbons can melt or burn. Wrap the ribbon around the length of the dowel. TIP: wrap as tightly as possible and push the ribbon tightly so you don't see any wood between each wrap of the ribbon. The ribbon will loosen up as soon as you take it off the dowel. When you reach the other end of the dowel, cut the ribbon and clothespin the end. Repeat using all the dowels. Each 12" length of korked ribbon will make 3-4 pieces finished ribbon for your bow (depending on child/bow size). A standard korker bow uses 20+ pieces of ribbon, so plan your colors accordingly.

After you have wrapped all the dowels, wet them thoroughly. Then spray each dowel (both sides) with spray starch. Place on a cookie sheet and put into oven. Turn oven to 300 degrees and set your timer for 30 minutes. The preheat time is included in this 30 minutes. When the timer goes off, take your cookie sheet out of the oven and let the ribbon cool completely. Once it has cooled, then remove the clips and carefully slide the ribbon off the dowel. It will now be korked!


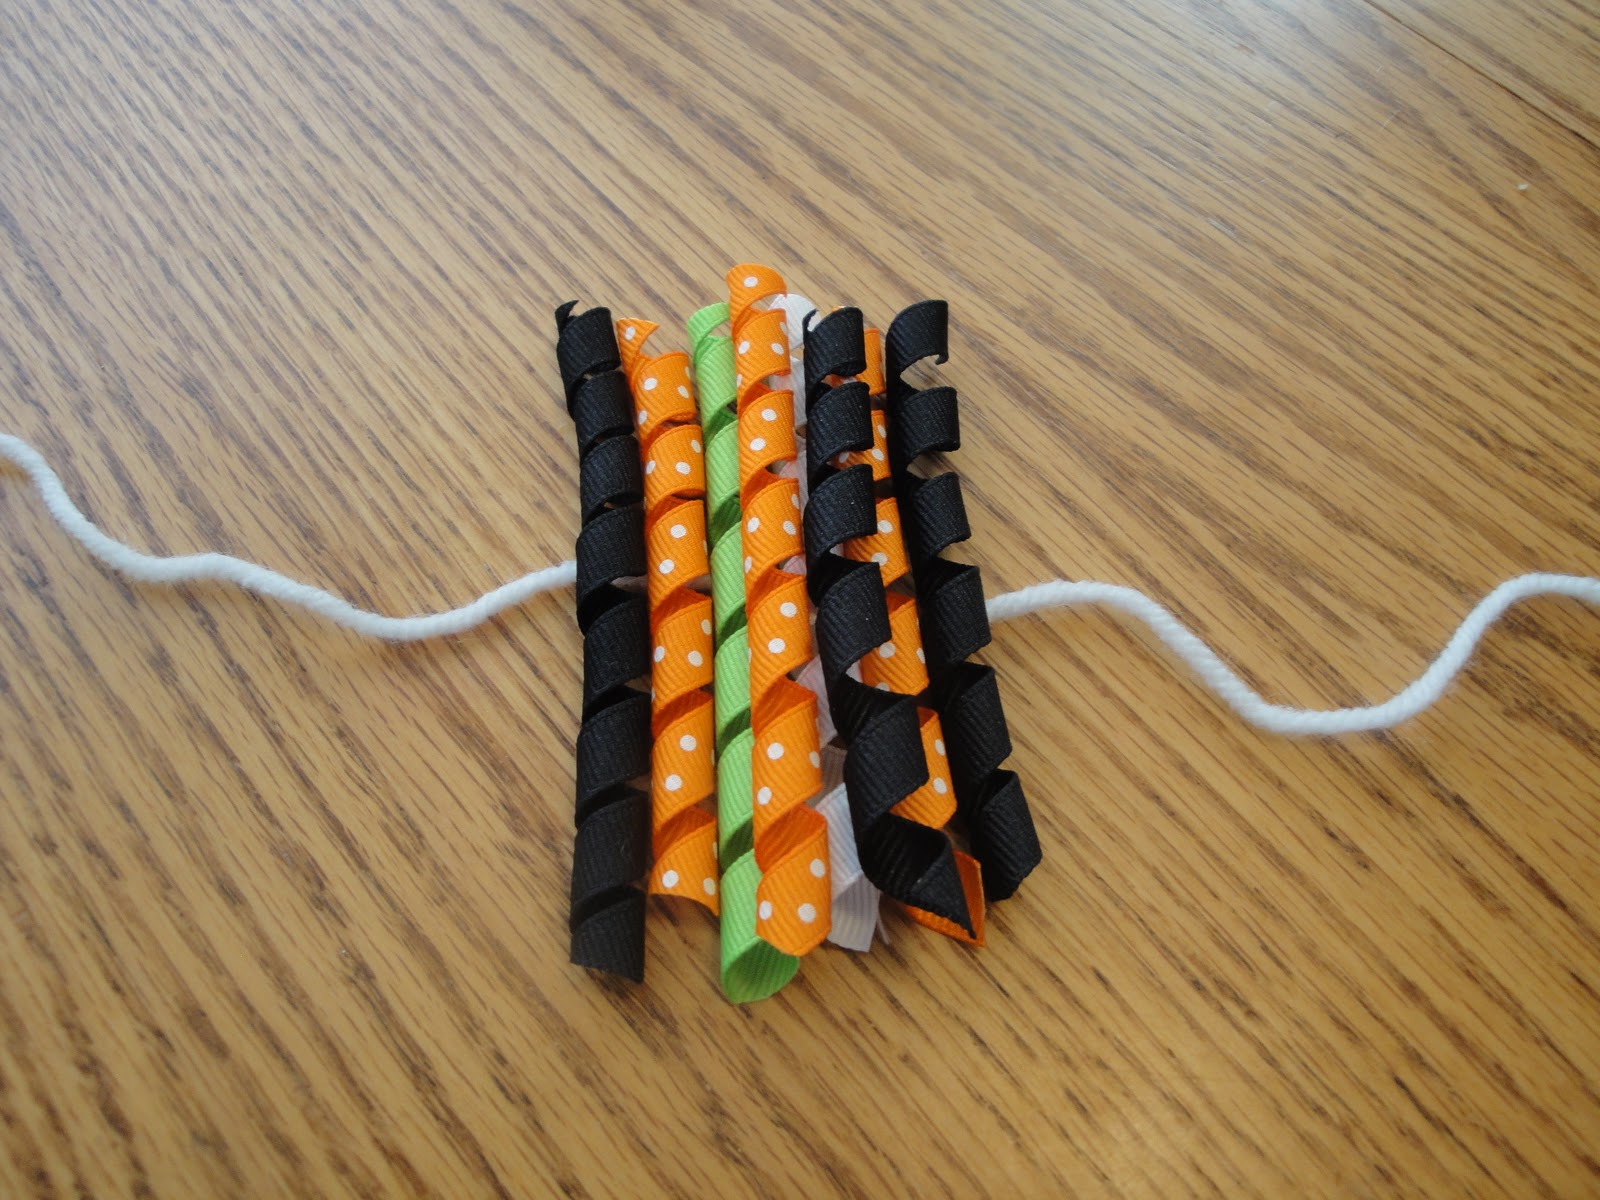
To make your bows, cut each piece of korked ribbon into 3 or 4 pieces. This really depends on the size of the bow you want. For young kids, I suggest pieces no longer than 3", but experiment and decide what is the size for your child. Lay out an 8" piece of yarn on a table. Then line up and stack the korked ribbon on top of the yarn taking care to center each piece left to right on the yarn. When I'm making a full korker bow, I use clothespins to keep the ribbon from sliding and it makes stacking easier. Once you have your ribbon stacked, grab the ends of the yarn and tie a knot over the ribbon making a pom pom. The more ribbon you use, the fuller the pom pom. In these pictures, I used fewer pieces because I'm going to add a satin ribbon as well. Trim the ends of the yarn and place a dot of hot glue on the knot.

This could be the end of the bow making if you want. I have been making some Halloween themed bows, so I tied a bow out of a satin jack-o-lantern ribbon and hot glued it to the korker bow. I also added a simple rhinestone to the center of the satin bow. Again, use your own creativity to make something great!

Lastly, hot glue an alligator clip to the back side of the bow. I like the alligator clips because they can be used directly on the hair or on a headband or you can even clip on a scarf or purse. This alligator clip is lined by the same grosgrain ribbon using hot glue. Voila! Instant bling!

Here are a few pictures of korker bows I've done. I've made just plain korker bows, added satin ribbon, rhinestones, or tulle. I have friends who make gorgeous elaborate bows, too. Hope you enjoyed this tutorial!

No comments:
Post a Comment